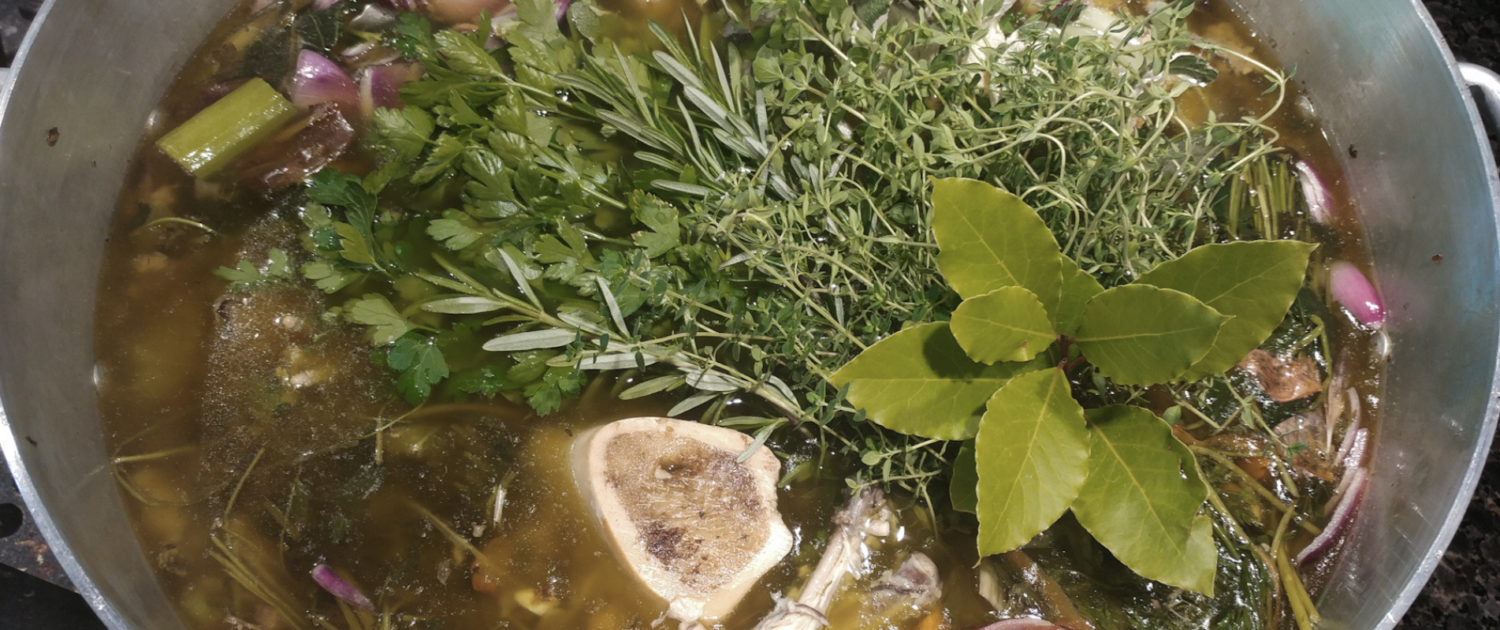
Stock
Apr 8, 2019 | by Marrianne Park
Let’s talk stock!
I remember this unit in culinary school where every ingredient needed to be perfectly measured and cut to same size for even cooking. There were so many rules and regulations. Although I am a firm believer in learning the rules before you start to break them and create your own style, cooking stock with a recipe now seems a little crazy to me and maybe that’s what scares people away from making their own at home.
Let me see if I can demystify and simplify this process for you. The result is out of this world.
Basic Recipe
- ⅔ of your pot filled with bones/carcasses
- ⅓ of your pot filled with veggie scraps (make sure you have onions and celery in these scraps)
- Cold spring water to cover
- Bay leaves and peppercorns
No lid. Simmer, don’t boil.
Simmer for how long?
Beef: 6 hours
Chicken: 4 hours
Fish and Veg: 1-2 hours
There are a pile more rules but this is where I let my common sense simplify.
Veg Scraps
I am constantly saving and freezing peels from vegetables, stems from herbs and any part of plant life that often gets thrown away. That said, I do not save potato peels for the stock (as I don’t want the starch) nor strong, distinct flavoured veggies like fennel, cabbage or cauliflower. I even save the veg pulp from my juicer for use in stocks later on.
I use to stay away from kale but now use the stems in my stock all the time. The stock produced is dark green but I still use it to steam rice and cook pasta in and the colour is so dispersed that the final product is not discoloured enough for anyone to notice. All they notice is the great flavour.
Veg Stock
If you’re not adding any bones/carcasses to your stock, you’re going to want to make sure that you add a little bit of acid for taste. This can be achieved by making sure there are tomatoes in your scraps or by adding in a few glugs of white wine, a few bay leaves and 1 tsp of whole peppercorns per gallon of water used.
All stock needs a little acid. In veg stock it is for flavor and in beef and chicken stock the acid helps break down the connective tissue helping accelerating the formation of gelatin, as well as giving color to the stock if you use tomato paste.
Simmer for an hour or so and don’t be afraid to squish the veggies as they soften to release flavour. Remove from heat and then let cool in the pot for an hour before straining. The veg can then be composted and the broth portioned and frozen.
Poultry/Beef stock
When working with bones/carcasses, I always brown them in the oven first and add a couple big spoonfuls of tomato paste in the roasting pan. Acid helps break down connective tissue in the bones which accelerates the formation of gelatin. It also gives your finished stock a deeper colour and richer flavour. For poultry stock, I like to use chicken, duck, or turkey bones (or sometimes a combination of all three). For beef bones, I like to use a mixture of marrow bones, neck and ankle bones.
Once browned, I dig the marrow out of each bone as I have found that if I don’t, sometimes the marrow gels in the bone which means some of the flavour doesn’t reach the stock.
Do I stir my stock when it’s simmering? Absolutely. In fact, I use a wooden spoon and crush up the vegetables as they cook, coaxing all the flavour out. I am not worried about cloudy stock (obviously it’s a whole different ball game if you’re wanting your finished product to look like a consomme).
Simmer for 4-6 hours saving any herbs and stems to add in the final hour of cooking. Let cool in pot for an hour, strain and then let stock chill in fridge overnight to allow the fat to rise and form a layer on the top. Scoop that off in the morning and then portion and freeze.
A note on salt- I never use it in my stocks. Salt is instead added during the cooking process of whatever I am making with the stock.
Why do I bother?
Taste
Once you get started making your own stock, you will never again be satisfied with mass produced, commercial broth packed with caramel colouring, sugar and preservatives.
When I was in Bali taking a cooking class at a vegan resort, the chef wasted nothing. All veg that was not presentation perfect went into a container on the counter and everyday they added water, herbs and pepper and kept it heated on the back stove for the chef to use in his creations in place of water. Win win- no waste and added flavour. I’ve been using this technique ever since in my kitchen.
Health Benefits
Not only does homemade stock taste amazing, it’s also a massively healing food to incorporate into your diet. A note on stock/broth language- technically, when you add meat scraps to stock it becomes broth. For simplicity here, I refer to it all as stock and use all my trimmings as well as bones and carcasses.
- Gut: Soothing to the digestive system, stock restores the gut lining (which when disrupted, contributes to food sensitivities) and helps with the growth of probiotics.
- Joints: One of the most collagen-rich foods that restores cartilage in our bodies and helps our joints stay strong as we age.
Immune System: Contains 19 amino acids and nutrients that strengthen the immune system.


