
Signature White Sourdough
Jan 24, 2020 | by Marrianne Park

Dough Prep
Below is the sourdough process from start to finish for those that have been through my sourdough workshop and need a little refresher of what we did. And for those who are intrigued and want to learn more about sourdough bread making, check out the details on the Special Events page of my site for when I am running the next workshop and give me a call to sign up.
It all starts with a healthy starter, this is so, so important! Below is Dawn, the sourdough starter that I started two years ago.
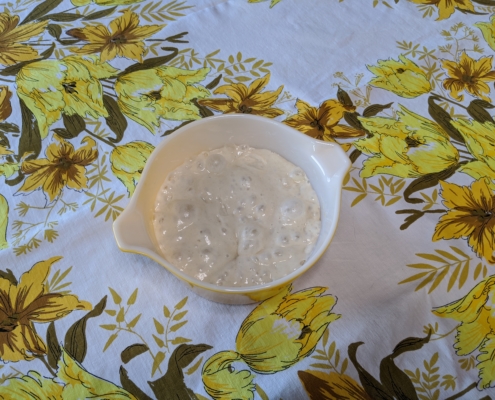
My favourite bowl is this old pyrex Cinderella bowl but use whatever you have, making sure that it can hold 2-3L so you can mix your dough comfortably.
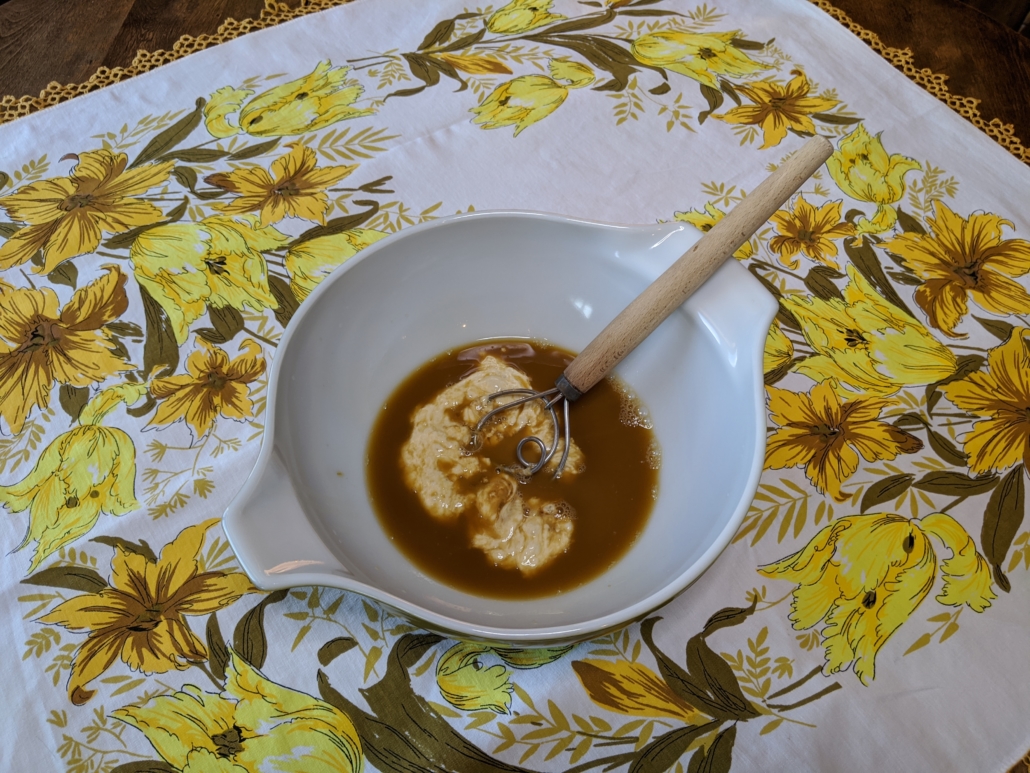
Set your bowl on a scale. Tare the scale to zero and add:
- 175 g room temperature water
- 10 g molasses
- 200 g starter (Dawn)
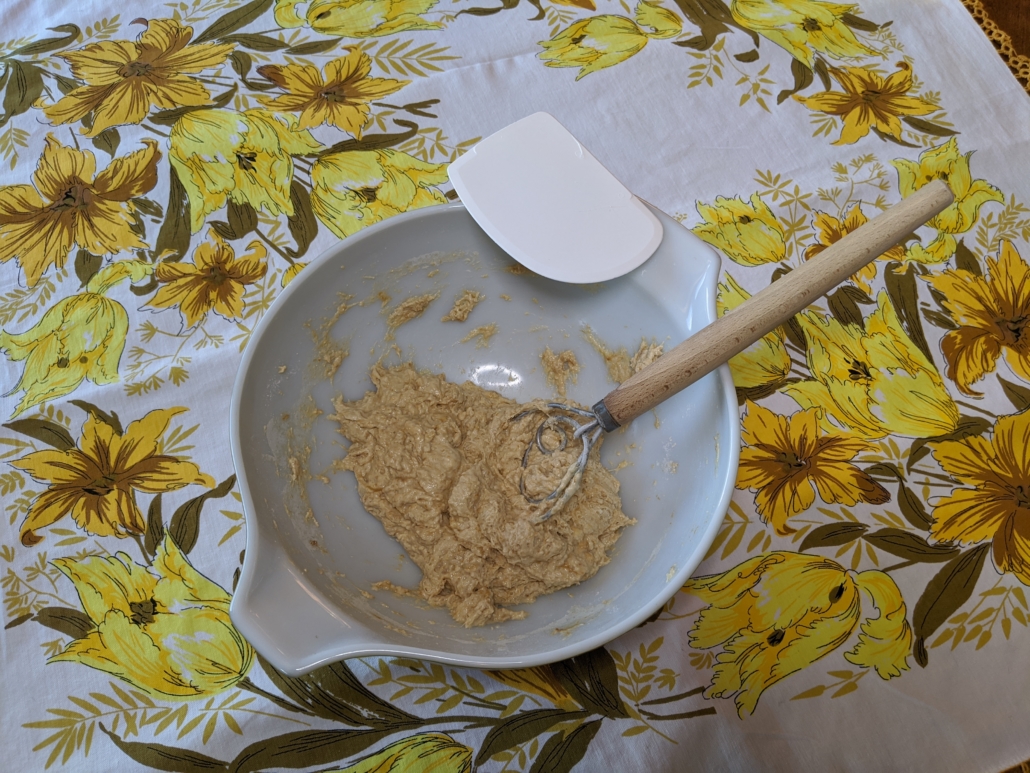
I use a Danish whisk at this point to break apart the starter and get the mixture frothy. If you don’t have this whisk, get your hands in there and mix with your fingers.
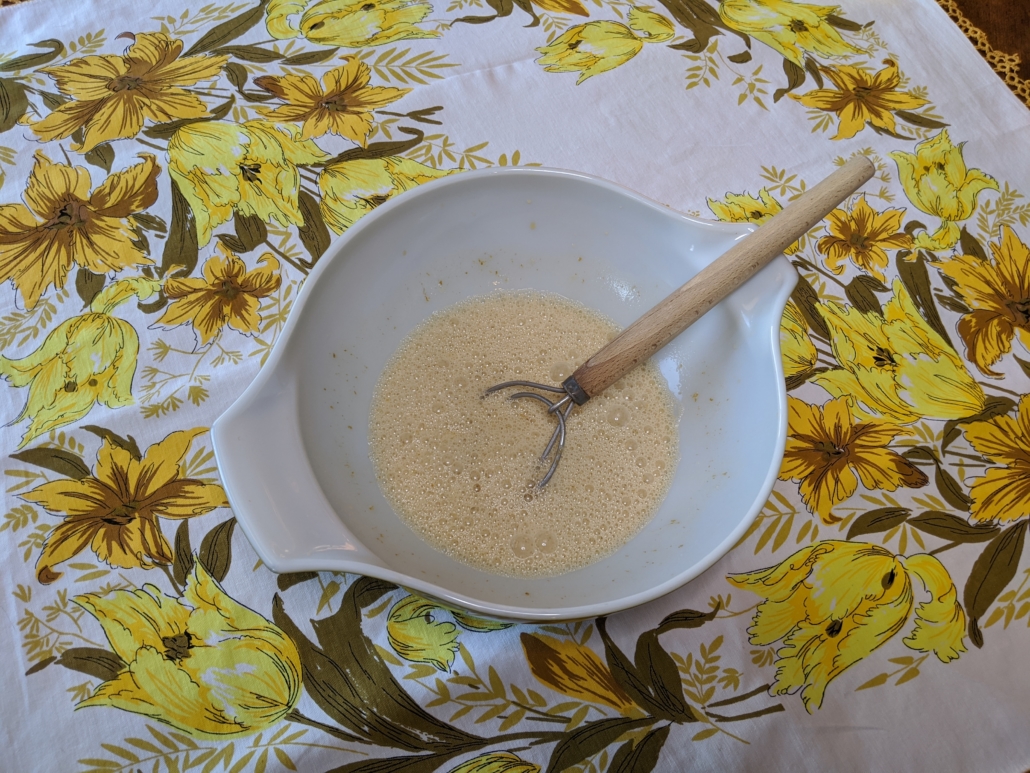
There will still be some strands of starter in the mixture (it won’t mix totally smooth). We are just incorporating air and breaking up the starter so that the next step is easier to mix thoroughly.
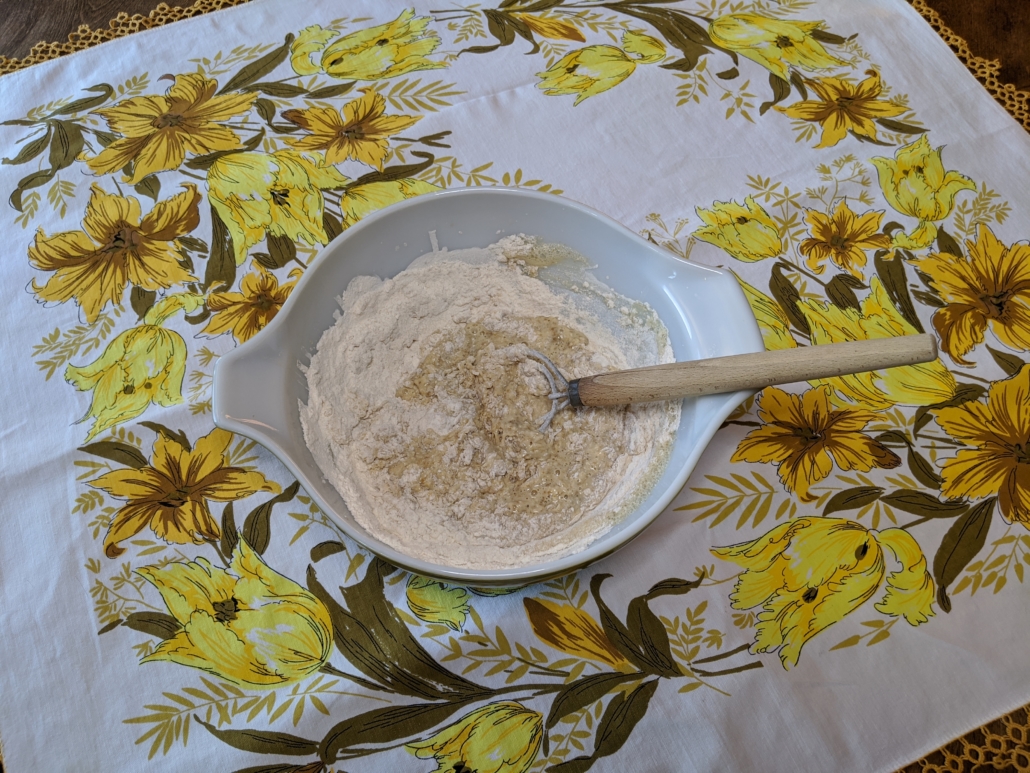
Put your bowl back on the scale and tare the scale to zero. Then measure out:
- 200 g white bread flour
- 75 g red fife flour or other whole grain flour of your choice.
Remember that as you experiment with different flours, it can dramatically change the moisture content of your dough. So my rule is to add all of the white flour first (200g), mixing until there are no dry flour pockets, and then slowly incorporate the whole grain flour of choice until you have a dough ball that is slightly sticky. Best to error on the side of not quite enough flour than too much. It is easy to add a little more flour in the next step if needed. Do all of this mixing with the Danish whisk and then use a dough scraper to clean the whisk and sides of the bowl. As you turn the bowl, use the scraper to pull the edges of the dough into the centre and form a ball in the bottom of the bowl.

I just leave my scraper in the bowl and cover it with Beeswax & Cotton food wrap. Make sure that whatever you cover your bowl with will keep the dough from drying out.

Let your covered dough rest on the counter for 60 minutes.
This is called autolyse where the water fully hydrates the flour before adding salt. During this resting stage, gluten development begins and simple sugars start to form as starch is broken down. Although it may look like nothing is happening, you will notice the difference as soon as you handle the dough. After autolyse, it will be smoother and more elastic.
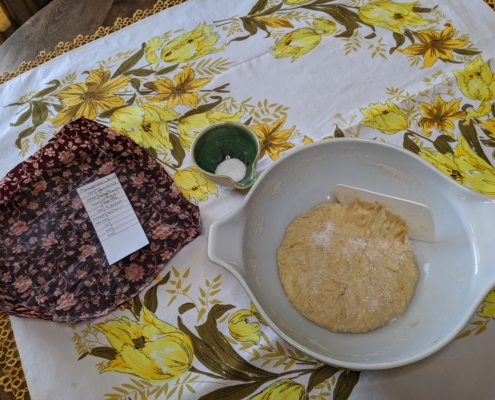
After 60 minutes, weigh out 8 g of non iodized salt. Sprinkle half the salt over the dough and use your scraper to pull the sides of the dough up and into the centre encasing the salt. Then sprinkle the remaining salt over the dough and repeat this same movement of pulling the dough up from the bottom and sides into the top middle of the dough ball.
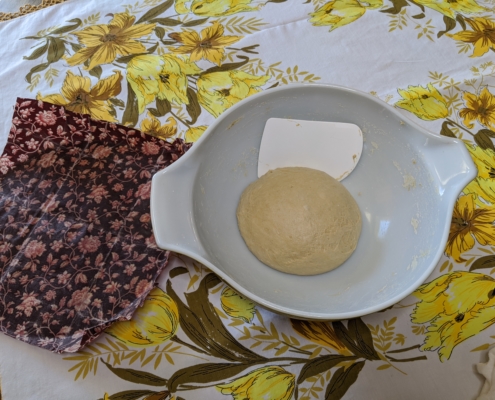
Wet your hands slightly, shaking off excess water, and scoop up your dough. Working in the air with it and stretching and folding as you incorporate all the salt evenly throughout the dough. Keep dampening your hands as needed and slowly work the dough into a ball, tucking ends underneath as you work the dough in your hands. The dough will be starting to smooth out and form a skin. Not to worry, it shouldn’t be perfectly smooth at this point.
Place the dough back in the bowl with the top of the dough facing up and cover again letting it sit on the counter for 60 minutes. From now on, this will always be the top of your dough and eventually the top of your baked loaf.
We will now do 3 stretches and folds, 60 minutes apart. Each time, you will dampen your hands slightly, shaking off excess moisture. Take your scraper and scoop out the dough. Using both your hands, start working the dough in a circle like someone stretches out a pizza crust. When your disk is about 10-12″ round, fold under in 3 parts one way and then 3 parts the other way.
Keeping hands moist, coax the dough back into a ball by pulling and working down edges of dough, tucking them underneath and forming a ball. This completes your first stretch and fold. Place dough back in the bowl with the top facing up and cover for 60 minutes.
Repeat this process again for your 2nd stretch and fold. Place dough back in the bowl with the top facing up and cover for 60 minutes. Each time that you stretch and fold, the dough will become more soft and smooth.

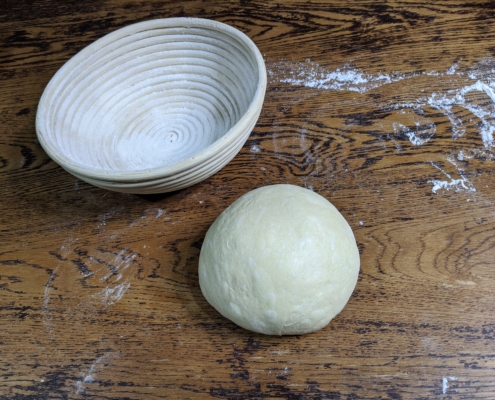
Repeat this process again for your 3rd stretch and fold. After your 3rd stretch and fold, place the dough on a lightly floured surface and let rest for 15-20 minutes.
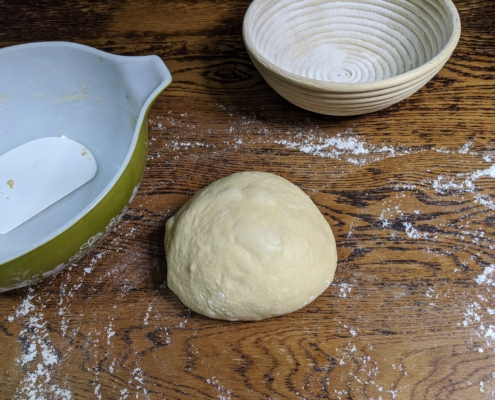
After final shaping, let the dough rest on the bench for about 5 minutes as I find this seals the bottom seam.
After 5 minutes, gently lift the dough and turn it over, placing it seam side up in your rice floured banneton. Dust fingers with flour and pinch close any loose seams.
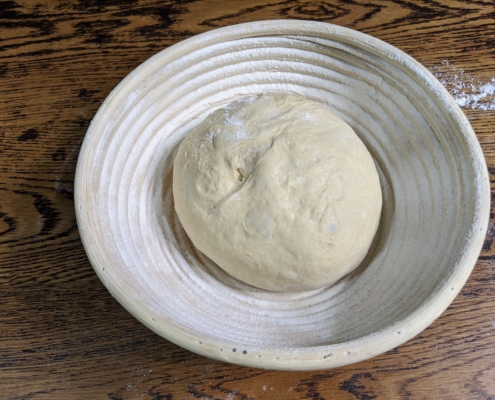
Place the entire banneton with formed loaf into a plastic bag and tie the bag closed. This goes in the fridge for 48 hours from mix time.
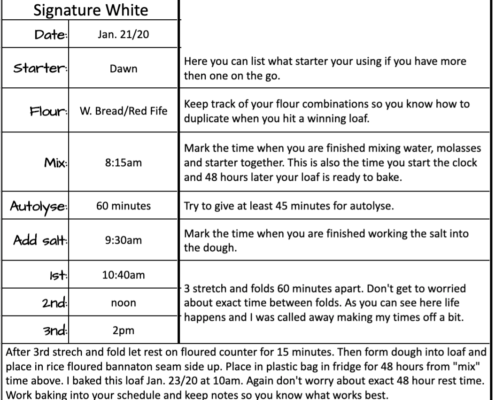
Dough Record Slip
Baking Instructions
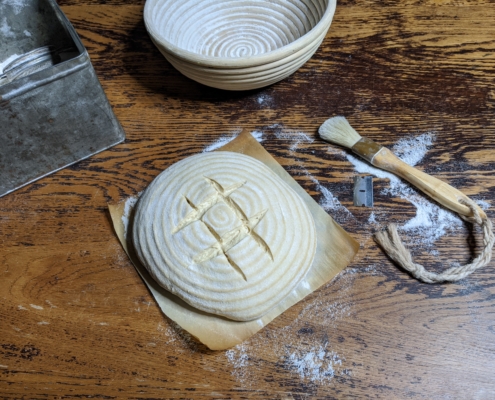
Preheat oven to 500 F with the Dutch oven and lid in it. Take the loaf out of the fridge and flip the loaf out of the banneton onto a piece of parchment paper roughly the same size as your loaf. Brush off excess flour and score.
Place loaf and parchment in the hot Dutch oven and cover with lid. Bake for 20 minutes with lid on, then reduce oven temperature to 400 F and bake an additional 15 to 20 minutes with lid off or until centre of loaf reads 200 F. All ovens are a little different so use this as a guideline.
Now here’s the hard part – do not cut into the loaf until it cools or the crumb will get doughy.